If you are a beginner and just starting to knit from a PDF pattern or instructions, the first thing you need to understand is how a pattern is structured and how to work with it, so you don’t get lost in the charts and abbreviations.
1. What a Pattern Usually Includes
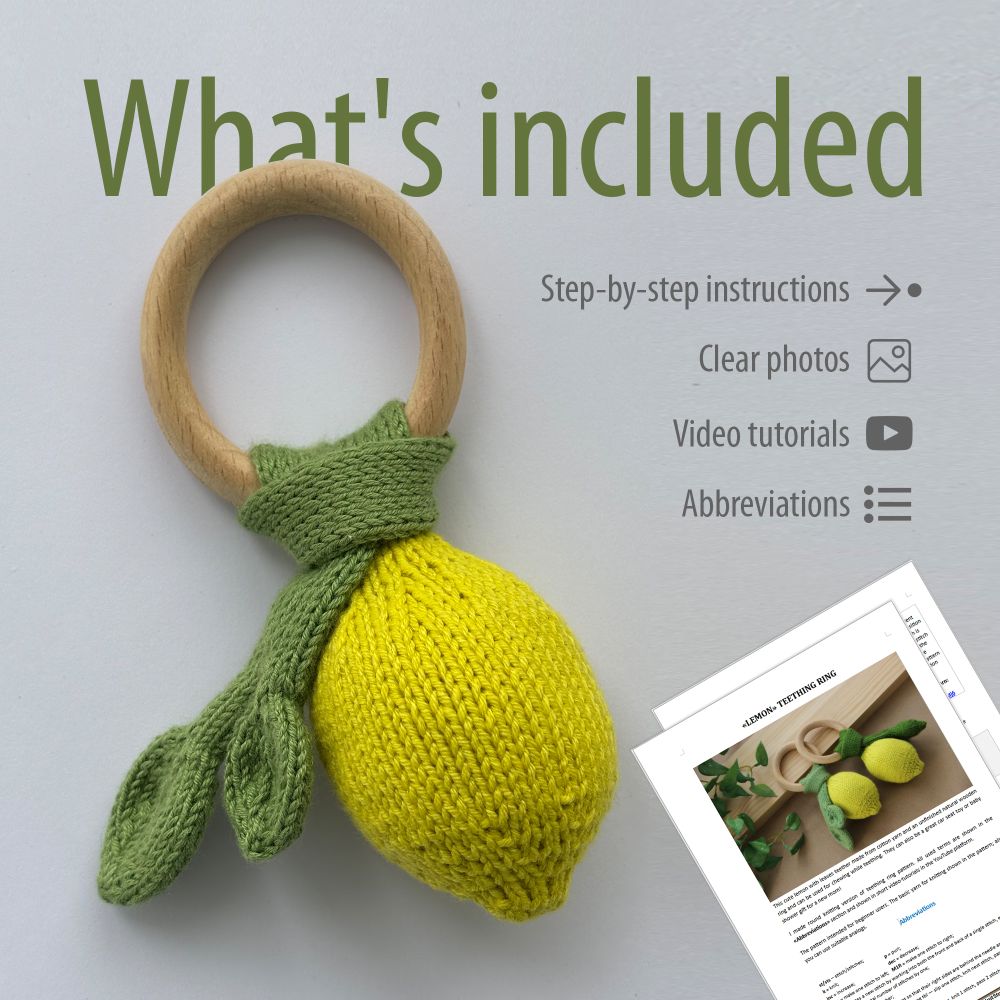
Most patterns have several standard sections:
Project Name and Description
-
Brief information about what you will knit: a scarf, hat, toy, or blanket.
-
Finished size, estimated time to complete, and difficulty level.
Materials Needed
-
Yarn: type, weight, length per skein, number of skeins.
-
Needles: size, material (wood, bamboo, or metal).
-
Additional items: sewing needle, stitch markers, buttons, stuffing for toys.
Abbreviations and Symbols
Patterns usually use abbreviations, for example:
-
k = knit (knit stitch)
-
p = purl (purl stitch)
-
yo = yarn over
-
k2tog = knit 2 together
Knitting Instructions
-
Step-by-step guidance, row by row, sometimes broken down into sections (e.g., body, sleeves, hat).
-
Can be written instructions or charts/diagrams.
Assembly and Finishing — instructions for sewing pieces together, weaving in ends, or adding decorations like buttons.
2. How to Read a Pattern as a Beginner
-
Read the entire pattern first — this helps you understand the structure of the project and what techniques are used.
-
Check abbreviations and symbols — if you see something unfamiliar, look it up in the key or instructions.
-
Follow the steps — knit row by row; don’t skip ahead before mastering the current step.
-
Use stitch markers — they help track the beginning and end of repeats, especially in complex patterns.
-
Check gauge and size — many patterns include a swatch. Knit a small sample to make sure your tension matches the pattern.
-
Refer to charts and diagrams — if available, they help visualize how the stitches form the pattern.
-
Don’t fear mistakes — if you make a mistake, unravel a few rows and try again. Mistakes are a normal part of learning.
3. Example of a Simple Row from a Pattern
For example, a row for a scarf in stockinette stitch might look like this:
Row 1 (Right Side): k all stitches
Row 2 (Wrong Side): k all stitches
Repeat rows 1–2 until piece reaches desired length
-
k all stitches = knit all stitches
-
Repeat rows 1–2 = repeat rows 1 and 2 until the piece reaches the desired length
This kind of written row is easy to follow while you learn to read more complex charts.
Conclusion: Taking Your First Step with Patterns
Patterns may seem overwhelming at first, but remember that they are just a step-by-step guide to help you create something beautiful. Start with simple projects, follow the instructions carefully, and take your time understanding each section. Every stitch you complete builds confidence, and soon reading patterns will feel natural.
The most important thing is to enjoy the process and the satisfaction of creating something with your own hands. With practice, you’ll be able to tackle more complex patterns and bring even your most creative ideas to life.